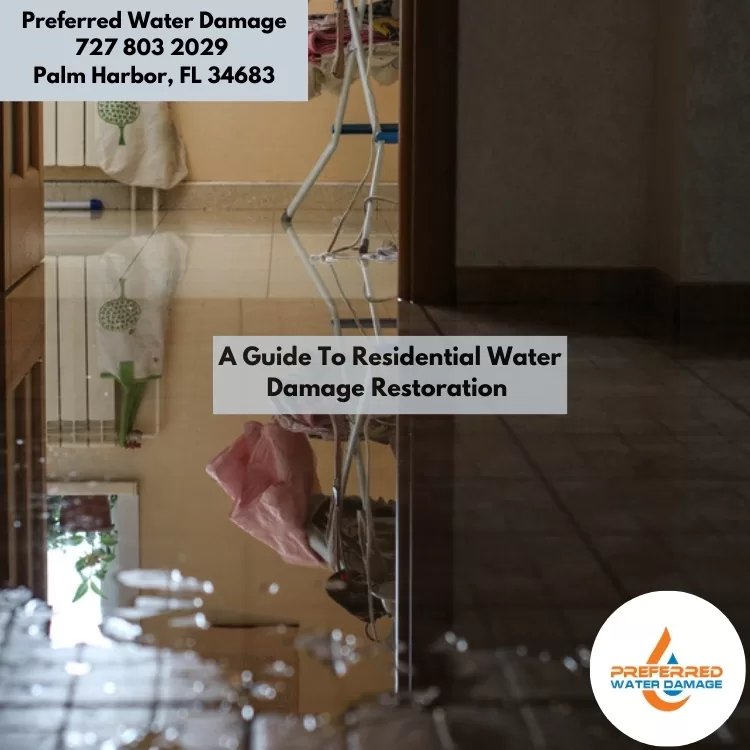
Residential water damage can be a major headache, but with the right knowledge and the right resources, it doesn’t have to be. In this guide, we’ll discuss the steps you should take for residential water damage restoration, from assessing the damage and removing excess water to drying and repairing your home.
Assess the Damage and Take Safety Precautions.
After you remove any standing water from the affected area, it’s important to assess the extent of the damage and determine what needs to be done. Make sure to wear protective clothing and follow safety procedures, as many water damage sources can include potentially harmful bacteria or diseases. Additionally, make sure to document the damage and all your restoration efforts in case you need them for insurance purposes.
Control Moisture & Eliminate Standing Water.
Water damage restoration starts with controlling moisture. Take proactive steps to ensure that any affected areas are as dry as possible: open all windows, if applicable, and use fans to promote airflow. If the area is too wet for fans, consider using a dehumidifier. You may need to invest in rental water extractors to rid the space of large amounts of standing water. This can be especially helpful should you experience flooding due to storms or other natural disasters.
Remove Damaged Material and Begin Drying Process.
After all excess water is removed and the area is dry, it’s time to remove any damaged material. Identify what can be salvaged—like drywall, carpeting, padding, and other porous materials—and inspect for mold growth. If the area has suffered wet rot damage, further action may be required. Dry your home thoroughly before replacing anything or moving on to repairs. This step is important as moisture that goes unaddressed could encourage the growth of mold, which compromises your home’s structure and can also create an unhealthy living space.
Monitor the Drying Process and Disinfect Affected Areas.
Once all wet materials have been removed, the drying process should begin. You may want to bring in an expert to check for moisture before starting the cleanup process. The most important step when drying out a property is monitoring the process to ensure that no lingering moisture or humidity remains in the area. After that, areas should be disinfected with a professional grade cleaner to help remove any potential pathogens, such as mold and mildew. Follow these steps carefully to make sure areas are safe and free of contaminants once again.
Reinstall Carpet or Floors Once Everything Is Dry
After the areas are completely dry and disinfected, you can begin to recreate the space back to its original state. First, you should reinstall any flooring that was removed due to water damage. This includes carpets, rugs, and tile or hardwood floors. Make sure all air circulation systems are running and monitored so as not to trap humidity in the area and cause mold growth. Once it’s been determined that the area is dry enough for installation, replace all necessary items such as doors and cabinets.